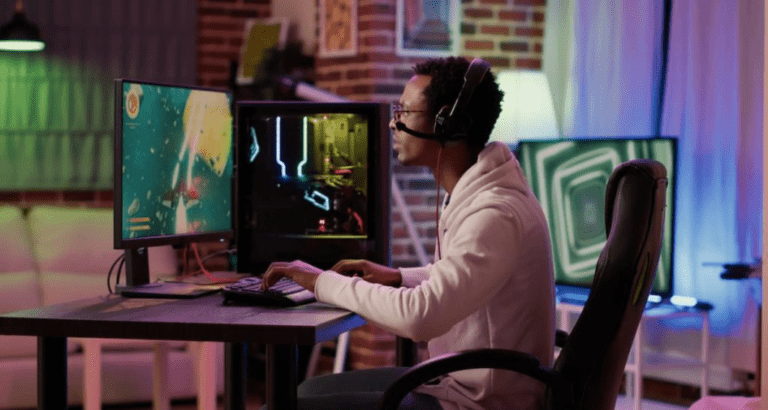
Multiplayer games are one of the most popular kinds of games today. They make for some of the most played games in any platform and online store, especially free-to-play competitive games like Dota 2, CS:GO and Fortnite.
For some reason, the competitiveness and player-to-player interaction (and, well, the fact that they’re mostly free) attract a lot of people to them.
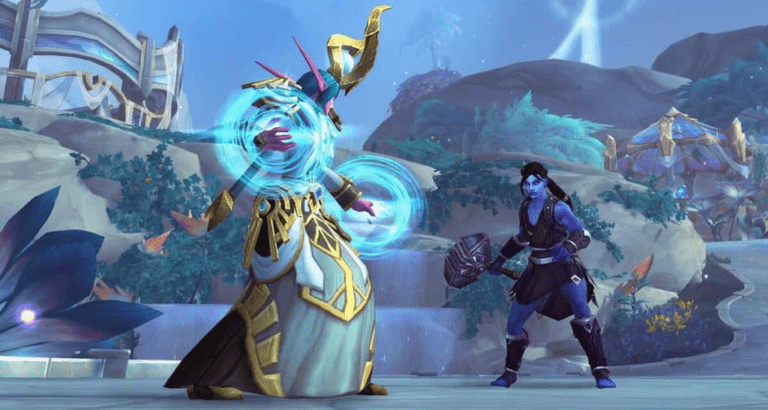
Not to mention the other kinds of multiplayer games which are also very successful. For instance, co-op games and game modes like Portal 2 and Borderlands and MMORPGs like World of Warcraft, The Elder Scrolls Online and Final Fantasy XIV also manage to attract lots of players, even though they aren’t free to play.
So, if you’re interested in making your own multiplayer game in Unreal Engine 4, read on!
Is Unreal Engine good for multiplayer games?
The Unreal Engine is a great choice for developing multiplayer games. With it, developers can implement networking and multiplayer features easily through the use of blueprints. Blueprints allow developers to create complex game mechanics in a fraction of the time needed if they were to code them manually.
With Unreal Engine, developers can replicate game objects over a network so that the same object appears in multiple players’ games. This makes it easy to create a multiplayer game using Unreal Engine with all of the features required for an enjoyable gaming experience.
The engine also supports voice chat, leaderboards, matchmaking and more – all of which are necessary for creating successful experiences on any platform. All in all, Unreal Engine is definitely one of the best options for creating a great multiplayer game with all of its features and tools available for developers to make use of.
How to make a multiplayer game in Unreal Engine 4: a short guide
Nowadays Unreal Engine 4 is a bit outdated. Epic Games released Unreal Engine 5 some time ago and all efforts have moved towards improving that engine and giving support for it.
However, if for some reason you prefer to use UE 4, or you plan on adding a multiplayer mode to a game made with UE 4, then this guide is a good idea for you. It’s probably not worth it to port the game just to add a new mode, and UE 4 can still handle it very well.
If you’re working on a new game, though, it’s a better idea to go for UE 5. If you’re stuck on UE 4 because of computer specs, though, it might be time to look for another engine to use, like Unity.
1 – Understand how a multiplayer game works
Most multiplayer games follow the client-server model. Some games are peer-to-peer, which follows a different model, but UE4 officially supports the client-server model, so that’s what we’ll focus on.
The client-server model divides the implementation of the game into two parts: the client, which is the one the users will use, and the server, which will connect to every client and make sure they’re playing the same game.
The client will be doing the local rendering, that is, displaying the game for the player, from their perspective, as if the game was running locally. Every time they do something, they send that data to the server. The server then validates it and sends it to the other clients. That process is known as “replication”.
While it may seem hard to create this division, the Unreal Engine makes it easy for you: it is already divided between server and client, even for local singleplayer games. Making a multiplayer game just means that you’ll be hosting a separate server instance, while the players’ clients connect to it instead of their local server.
2 – Set up Unreal Engine 4 for multiplayer
In order to create a multiplayer game, it’s a good idea to be familiar with the command line, as servers usually do not have a graphic interface.
You can start a simply listen server by running:
UE4Editor.exe <ProjectName> <MapName>?Listen -game
Replacing <ProjectName> with the name of your project and <MapName> with the map to be run. Similarly, for a dedicated server, you can use:
UE4Editor.exe <ProjectName> <MapName> -server -game -log
Then, to start the client and connect it to the server, just do:
UE4Editor.exe <ProjectName> <ServerIP> -game
You’ll notice that now you’ll have to work on two separate projects: client and server. And you’ll need to use both to make sure everything is going well. Not really ideal, but it’s a part of the process.
3 – Divide client and server logic
Having two different projects, you now have to worry about what each one will do. The server necessarily needs to handle stuff like replication, in order to make sure that every client has access to the same data. The client is also the one who handles rendering, which decreases the load for the server and makes data transfer much easier and faster.
Now, what you make each one handle depends highly on your game. You could make the server handle physics, for example, which would take a bit of the load off the clients. However, that could also introduce a delay in physical reactions. You could add prediction into the clients, making them act as if the physics had already been processed, but that can also make things a bit glitchy.
This takes a bit of trial and error and depends a lot on what your game will have, so it’s a good idea to set up a server, connect it over the internet, and see how things go as you develop your multiplayer game.
More information
Of course, that is just the basics. In order to develop your multiplayer game, you should look into more information about it designing your game for multiplayer.
One of the best sources of information is the Unreal Engine 4 Documentation. It already provides a multiplayer quick start guide using one of its templates which can get you up and running on how to set up replication.
There are also many video guides online which can also be very helpful. Just be aware that they can take a long time! Multiplayer games can be a very complicated subject.
We can make your multiplayer game
Making a multiplayer game can be pretty difficult, especially if it’s your first time doing it. So, how about leaving it to a team of experienced developers?
Here at MainLeaf, we can do that for you!
Just head to our main page and get a quote.
It’s that simple!

