As the game development landscape evolves, developers often explore different engines to leverage unique features, optimize performance, or simply enjoy a new workflow. A very common transition is converting a Unity project to Godot, two of the most popular game development engines today.
This guide will walk you through the essential steps to convert your Unity project to Godot, ensuring a smooth and effective transition. That said, if you want to learn which of these game engines is right for you, click here instead.
Why convert a Unity project to Godot?
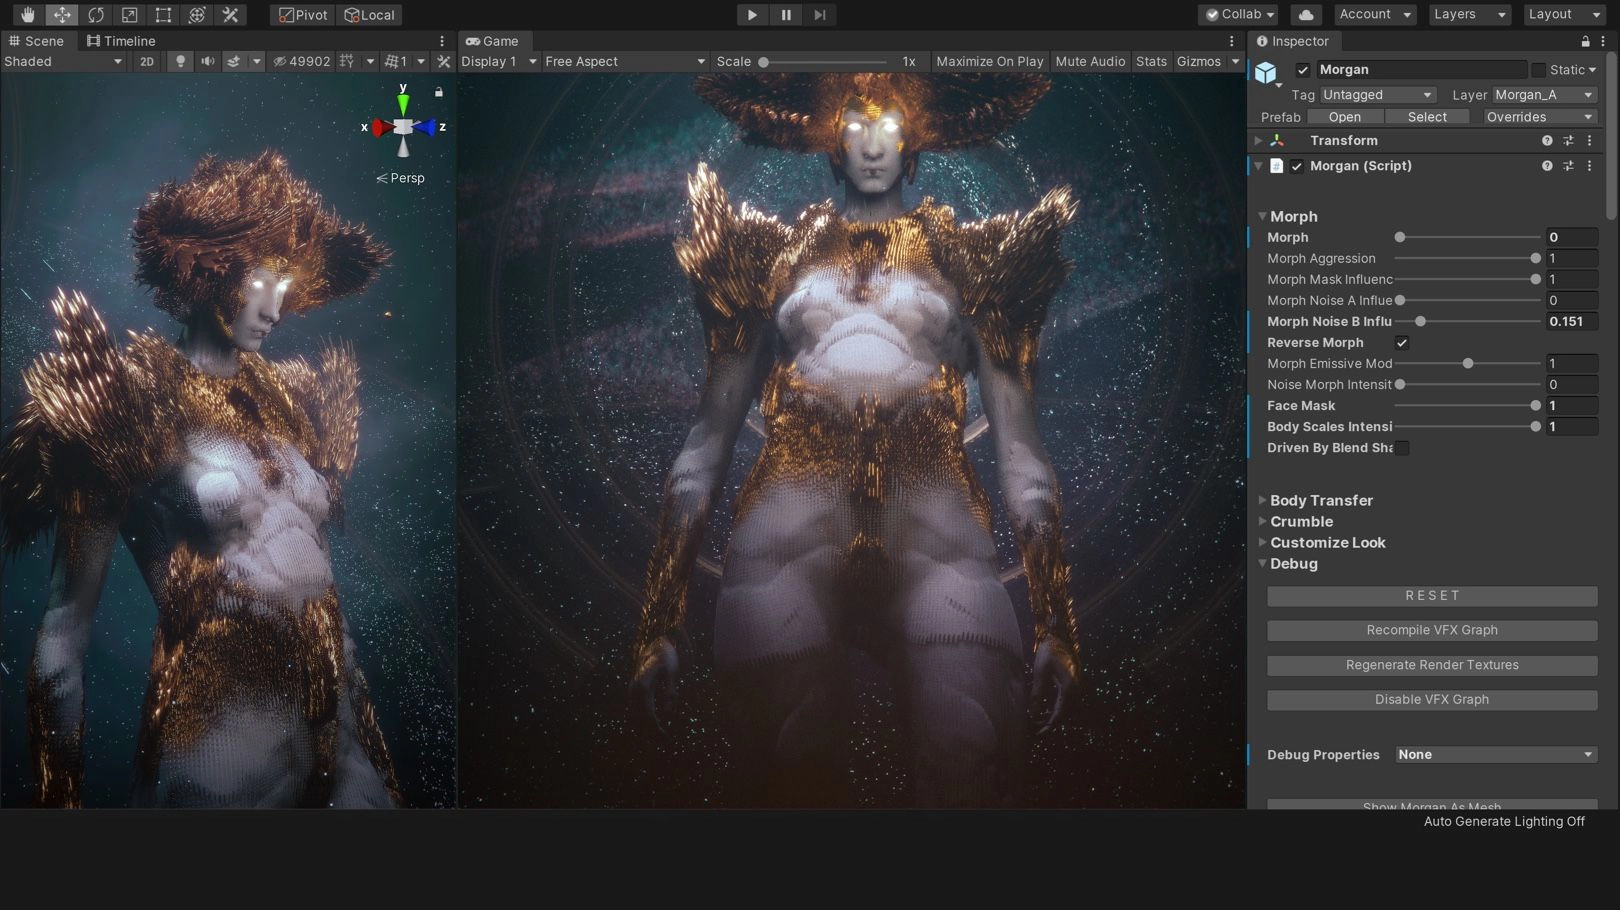
Before diving into the conversion process, it’s essential to understand the motivations behind switching from Unity to Godot.
One of the biggest reasons to make the transition is the fact that Godot is open-source, meaning it’s free to use and modify. This provides greater flexibility and control over the engine, allowing for extensive customization to suit specific project needs.
Godot is also known for its lightweight footprint and efficient performance, making it an excellent choice for developers seeking a responsive and fast development environment.
Many developers find Godot’s scene system and scripting language (GDScript) more intuitive and easier to learn compared to Unity. This can lead to quicker development times and a more enjoyable development process.
Godot boasts comprehensive documentation and a supportive community, offering a wealth of resources for troubleshooting and learning.
Finally, Godot supports exporting to multiple platforms, including Windows, MacOS, Linux, Android, iOS, and HTML5, making it a versatile choice for reaching a broad audience.
Converting a Unity project to Godot: step-by-step process
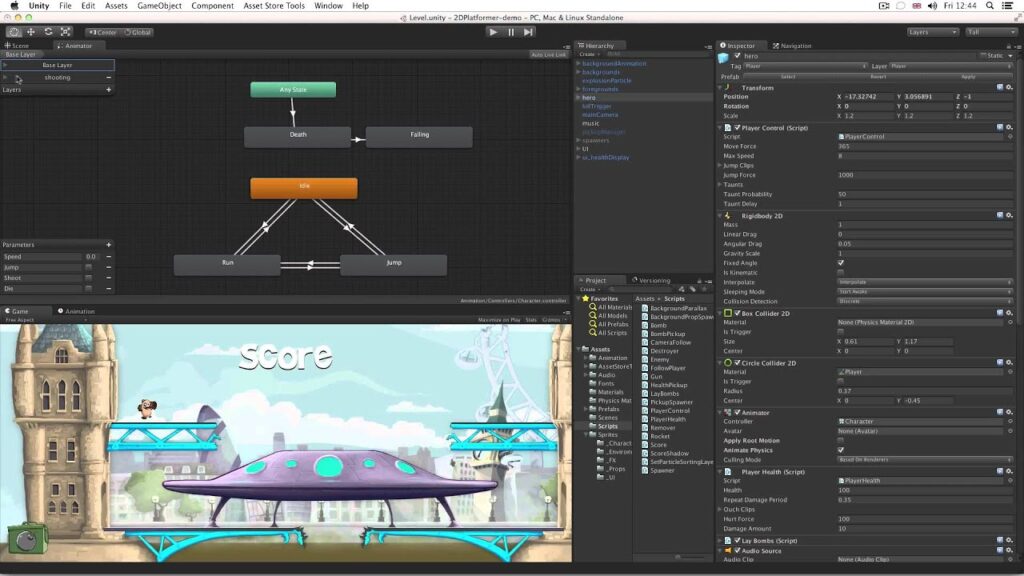
Then you rewrite your Unity scripts in GDScript. If you used C# in Unity, you might find GDScript’s Python-like syntax easier to adapt to, but Godot also supports C# if you prefer to continue using it.
1. Export assets
Begin by exporting your assets from Unity. To ensure compatibility with Godot, textures should be exported as PNG or JPEG files, 3D models in a format like OBJ or FBX, and audio files in common formats like WAV or MP3 for and easy integration with the software.
2. Recreate project structure in Godot
Godot uses a different project structure compared to Unity. So to convert the Unity project to Godot you must start by opening a new Godot project and recreate your folder hierarchy to organize your assets similarly to your Unity project.
In Godot, scenes are the building blocks of your project. Create scenes that correspond to your Unity scenes. Each scene can represent a game level, UI screen, or any other discrete component of your game.
3. Rebuild gameplay mechanics
This step involves translating your Unity scripts into Godot’s GDScript or C#. Here are some detailed tips:
- Reimplement player controls using Godot’s input system. Utilize nodes like ‘KinematicBody2D’ or ‘KinematicBody3D’ for handling player movement and collision.
- Leverage Godot’s built-in physics engine to replicate the behavior of objects in your game. Use nodes like ‘RigidBody2D’ or ‘RigidBody3D’ for physics-based interactions.
- Recreate your user interface using Godot’s control nodes, which offer a range of tools for building responsive and dynamic interfaces. Nodes like ‘Control’, ‘Button’, and ‘Label’ will be fundamental in replicating your UI.
4. Test and debug
After recreating your project structure and mechanics, thoroughly test your game. Ensure that all functionalities work as expected and that there are no missing assets or broken scripts. Pay close attention to performance and optimization during this phase.
Read also: 4 reasons why game testing companies are so important
Advanced tips for a smooth transition from Unity to Godot
Don’t be afraid to utilize Godot’s community resources, including forums, tutorials, and official documentation to help you in the transition process. Engaging with the community can provide valuable insights and solutions to common challenges you may face.
Consider working in chunks and converting your project incrementally – and start with a small part of your game to get accustomed to Godot’s workflow before tackling the entire project. This approach allows you to learn and adapt without overwhelming yourself.
Godot has an increasingly growing library of plugins and add-ons that can help replicate features you used in Unity. Take your time to explore the Asset Library for tools that can simplify your conversion process.
By the way, Godot offers a wide array of tools and techniques for performance optimization. Take advantage of features like the Visual Shader Editor, efficient memory management, and scene instancing to ensure your game runs smoothly.
Start your conversion project today!
Converting a Unity project to Godot can be a rewarding experience, opening up new opportunities and efficiencies. With careful planning, attention to detail, and a willingness to learn, your game can thrive in its new engine, providing players with an engaging and polished experience.
We here at Main Leaf have worked in that conversion many times in our 12 years of experience in the game development industry – so don’t hesitate to contact us for precious help. We can safely say that, with an expert team by your side, you can port great projects from Unity to Godot!
Furthermore, if you liked this article, don’t forget to check out our blog for many other subjects relating to the world of game development and the video game industry.
