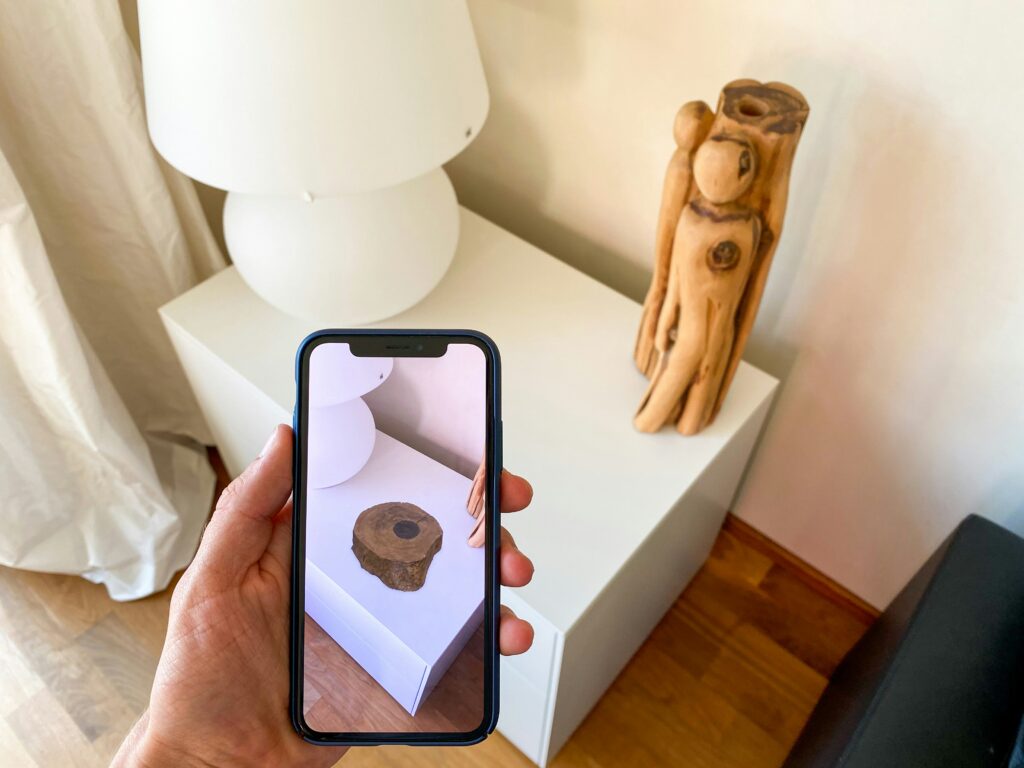
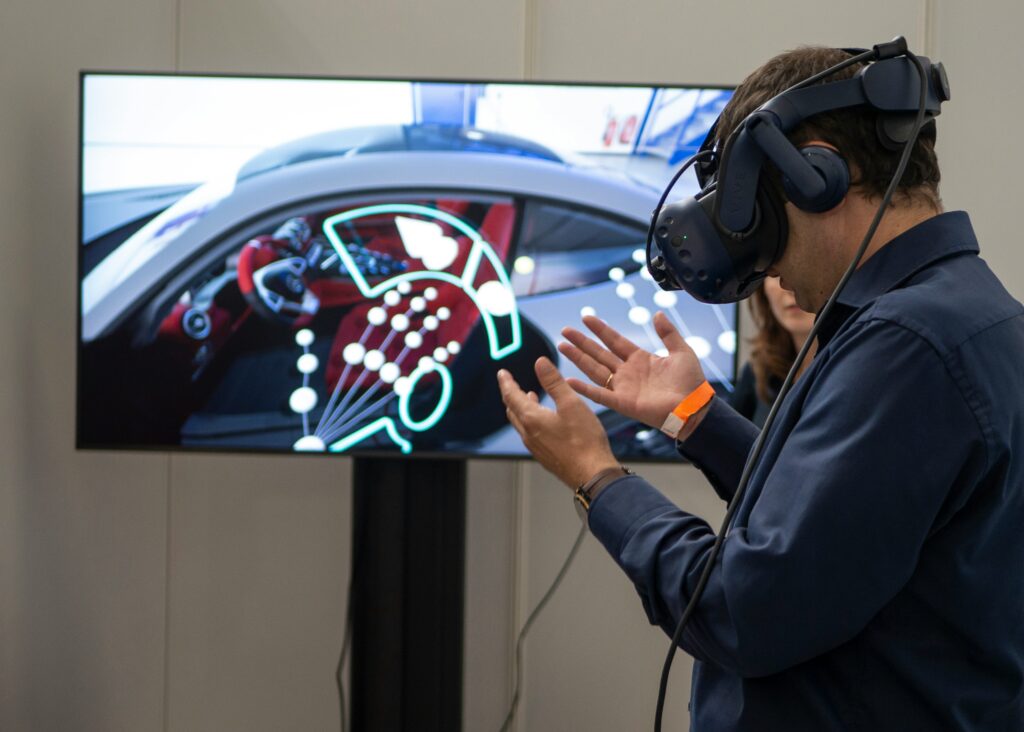
Augmented Reality (AR) has rapidly become one of the most exciting and promising technologies of the digital era. Today, many developers are starting to focus on developing easy steps on how to build an AR app.
From gaming and entertainment to education and business, AR applications are transforming the way we interact with the world around us, offering endless possibilities for innovation and engagement across various industries.
If you’re eager to dive into the realm of AR development and create your own immersive experiences, you’ve come to the right place. In this guide, we’ll walk you through the process of how to build an AR app from scratch in 5 easy steps.
Read also: 10 exciting ideas for video games to spark your creativity
How to build an AR app: step by step

Step 1: Define your objectives and target audience
Before diving into the actual process of how to build an AR app, it’s crucial to clearly define your objectives and identify your target audience.
Are you creating a game, a marketing tool, an educational resource, or something else entirely? Understanding your goals will guide the entire development process and ensure that your app resonates with your intended audience.
Think about how you want users to interact with your AR app. Will it be intuitive and easy to use? Understanding the user journey within the app will help you design a seamless and engaging experience.
It is also important to assess the technical requirements of your AR app based on its objectives. Consider factors such as platform compatibility, device capabilities, and the need for backend infrastructure.
You also need to have in mind if your AR app needs to integrate with other systems or platforms, such as social media, e-commerce platforms, or learning management systems. If so, you need to plan for a seamless integration during the very early stage of the development phase.
Step 2: Choose the right AR development platform
With a clear goal and target audience in mind, now you can start choosing an AR platform that will help you reach these goals and this audience.
There are several development platforms available, each offering its own set of features and capabilities that can completely change the way you think about how to build an AR app.
Some of the most popular platforms include:
- ARKi
Developed by Apple, ARKit is specifically designed for iOS devices. It provides advanced AR capabilities such as motion tracking, scene understanding, and light estimation. - ARCore
Created by Google, ARCore is tailored for Android devices. It offers similar features to ARKit, including motion tracking, environmental understanding, and light estimation. - Unity 3D with Vufori
Unity is a powerful game engine widely used for AR development. When combined with Vuforia, it enables developers to create immersive AR experiences across multiple platforms, including iOS, Android, and even Microsoft HoloLens. - Snapchat’s Lens Studio
Ideal for creating AR effects for Snapchat, Lens Studio provides a user-friendly interface and extensive documentation for developers to design engaging AR lenses.
To make the best possible choice, you need to compare the features and capabilities offered by each platform against your project requirements. Consider aspects such as tracking quality, environmental understanding, rendering, visual effects, integration with third-party tools, and cross-platform compatibility.
Step 3: Familiarize yourself with AR concepts and tools
Before you start coding, take the time to familiarize yourself with fundamental AR concepts and tools. Understand how AR technology works, including concepts such as marker-based tracking, image recognition, plane detection, and object tracking.
Additionally, since no platform is the same, it is important to learn how to use the development tools provided by your chosen platform, whether it’s Unity’s interface, ARKit’s framework, or another development environment.
Step 4: Design your AR experience
Once you have a solid understanding of AR concepts and tools, it’s time to design your AR experience and actually start thinking about how to build an AR app. Ding so involves meticulous attention to detail across various elements to create an immersive and engaging user experience.
Starting with the user interface, which should be intuitive and seamlessly integrated into the AR environment. Design elements such as menus, buttons, and information displays should be easy to understand and interact with.
Consider the placement of UI elements within the AR space, ensuring they are accessible and not obstructive to the user’s view of the augmented content, and utilize familiar UI patterns and conventions to minimize the learning curve for users.
Interaction mechanisms are the next thing you need to consider. Define how users will interact with the AR environment. This could involve gestures, voice commands, touch interactions, or a combination of these.
Ensure that interaction mechanisms are responsive and provide clear feedback to the user. Experiment with different interaction methods to find the most intuitive and natural-feeling approach for your app.
Next, think about the visual style, which involves developing 3D models and animations. They should be visually appealing, suited for the context of your AR experience, and optimized for real-time rendering to maintain performance.
Animations should enhance rather than detract from the overall experience. Avoid excessive or distracting animations that may overwhelm the user. As for the 3D models, pay attention to details such as texture quality, polygon count, and animation rigging to enhance realism.
Step 5: Develop your AR app
At this point in the development journey of how to build an AR app, you will need to delve into the coding tailored to your chosen platform.
For iOS aficionados, diving into Swift – Apple’s preferred language – offers seamless integration with ARKit, Apple’s AR development platform. Swift’s concise syntax and robust capabilities empower developers to implement complex AR features with relative ease.
On the Android front, developers venture into the realms of Java or Kotlin, Google’s endorsed languages for Android development. With the advent of ARCore, Google’s AR platform, developers gain access to a suite of tools and APIs for building immersive AR experiences.
For cross-platform endeavors, languages like C# or JavaScript, coupled with frameworks like Unity or Unreal Engine, offer a compelling avenue for AR development.
Unity, in particular, provides a robust ecosystem for building AR applications that run seamlessly across iOS, Android, and other platforms.
Testing, publishing, and marketing your AR app
Now you just have to choose a testing strategy to polish the user experience of your app and focus on publishing and marketing it.
Building an AR app may seem daunting at first, but with the right approach and resources, it’s entirely achievable. By following the steps outlined in this guide, you can bring your creative vision to life and deliver immersive experiences that captivate and inspire your audience.
We here at Main Leaf, throughout our 12 years of activity in the game development industry, have worked on many projects involving AR. It is a challenge, indeed – but we speak from experience when we say it is one of the most satisfying works a developer can produce.
If you would like to start working on your next AR project with professionals who love what they do, make sure to get in contact with our staff as soon as possible! We can help make your dream app into reality!


