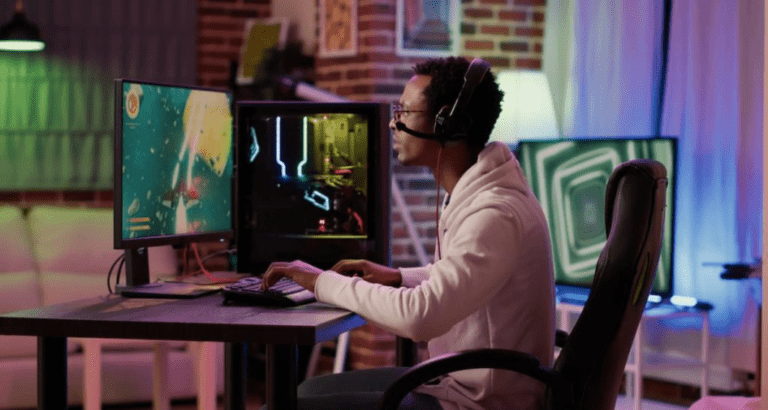
Despite the rise of 3D media, spritework is still a wonder and a big hit among casual gamers. These small, two-dimensional images serve as the fundamental building blocks of visual elements to represent characters, objects, and environments – and creating sprites is a crucial skill for aspiring game developers who look to add unique aesthetics to their projects. This comprehensive guide will delve into the intricacies of sprite creation, from conceptualization to implementation, so we invite you to keep up with our expert tips!
You may also like: What is game design? Fundamentals and professional roles
What makes a sprite?
Maybe you are here because you only need to know how to create sprites for games – meaning you already know what a sprite is when we are talking about the world of gaming, but maybe you just opened this article out of curiosity and have no idea what a sprite is in the gaming words. Anyway, we think it is important to discuss the basics behind this art style before we can understand sprite creation per se.
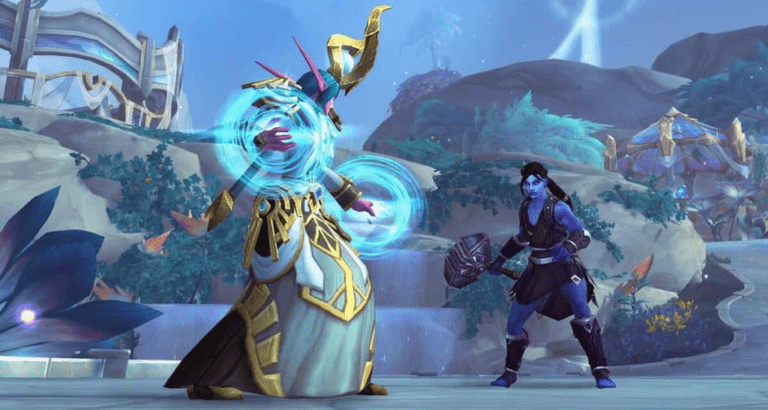
As you may be familiar with, a sprite in video games is a small, two-dimensional image that is used to represent characters, objects, or other visual elements within the game. Think of it like a tiny piece of a puzzle. When combined with other sprites and background images, they create the visual world of the game. Sprites can be static (like a tree or a rock) or animated (like a running character or a flying bird).
Here are a few examples of how sprites are used in games:
- Characters: The player character, enemies, and non-playable characters are often represented by sprites.
- Objects: Items, weapons, and environmental elements like trees, rocks, and buildings can also be sprites.
- Particles: Effects like fire, smoke, and sparks are often created using small sprite particles.
Sprites can be simple or complex, depending on the game’s style and requirements. They can be created by hand using digital art software or generated procedurally using algorithms.
Understanding the basics of sprite creation
Before diving into the technical aspects, it’s essential to grasp the core concepts as well. You see, sprites are typically created using digital art software, such as Adobe Photoshop or GIMP. The process involves designing the image, ensuring it has the appropriate dimensions and file format, and potentially optimizing it for performance.
So it all comes down to the following, really:
Key considerations for sprite design
- Resolution and scaling: The resolution of your sprites should be high enough to prevent pixelation when scaled or enlarged in the game. Consider the target platform’s resolution and the desired level of detail.
- Color palette: A limited color palette can help optimize file size and improve performance. Choose colors that complement each other and align with the game’s overall aesthetic.
- Animation: If your sprite needs to move or change its appearance, you’ll need to create multiple frames to animate it. Ensure smooth transitions between frames for a visually appealing result.
- Transparency: Transparency allows you to overlay sprites without obscuring each other. Use transparency masks or alpha channels to control which parts of the sprite are visible.
Tools and techniques for sprite creation
- Digital art software: Adobe Photoshop, GIMP, and Krita are popular choices for creating sprites. They offer a wide range of tools for drawing, painting, and editing images.
- Vector graphics: Vector graphics, created using software like Adobe Illustrator or Inkscape, can be scaled without losing quality. They are ideal for simple shapes and lines.
- Sprite sheets: Combining multiple sprites into a single image, known as a sprite sheet, can improve loading times and reduce file size.
- Pixel art: Pixel art involves creating sprites using individual pixels. This technique is often used for retro-style games and can be challenging but rewarding.
Optimizing sprites for game performance
- File format: Use a compressed file format like PNG or GIF to reduce file size without compromising quality.
- Texture atlases: Combine multiple sprites into a single texture atlas to minimize texture switching and improve rendering performance.
- Mipmapping: Generate mipmaps, which are smaller versions of your sprite at different resolutions, to improve image quality when viewed from a distance.
Creating animated sprites
- Frame-by-frame animation: Create individual frames for each pose or action and sequence them together to create animations.
- Sprite sheets: Store multiple frames in a single sprite sheet and use animation techniques to display them in sequence.
- Skeleton animation: Define a skeleton structure for your sprite and animate its joints to create more complex movements.
How to create sprites for games: a step-by-step guide
Conceptualizing your sprite
Before you begin creating your sprite, it’s essential to have a clear vision of its purpose and appearance. Consider the following questions:
- What is the role of the sprite in the game? Is it a playable character, an enemy, a background element, or something else?
- What is the desired aesthetic or style of the sprite? Should it be realistic, cartoony, or abstract?
- What are the key features or characteristics of the sprite? What makes it unique and recognizable?
- How will the sprite interact with other elements in the game? Will it be animated, have special effects, or collide with other objects?
Choosing the right tools
The choice of tools depends on your skill level, preferences, and the complexity of your sprite. Here are some popular options:
- Digital art software: Adobe Photoshop, GIMP, Krita, and Clip Studio Paint are versatile tools for creating sprites. They offer a wide range of features, including drawing, painting, and editing tools.
- Vector graphics software: Adobe Illustrator and Inkscape are excellent for creating scalable and precise sprites, especially for simple shapes and lines.
- Pixel art software: Aseprite and Pixilart are specialized tools for creating sprites with a pixelated style, often used in retro-style games.
Creating the base image
Once you have a clear concept and chosen your tools, start creating the base image. Pay attention to the following:
- Resolution: The resolution of your sprite should be appropriate for its size and the target platform. Higher resolutions can lead to larger file sizes, but they may be necessary for detailed sprites.
- Color palette: Consider the overall color scheme of your game and choose colors that complement each other. Limiting your color palette can help optimize file size and improve performance.
- Composition: Arrange the elements of your sprite in a visually appealing and balanced way. Consider factors like symmetry, perspective, and negative space.
- Transparency: If your sprite needs to be layered or have transparent elements, use alpha channels or transparency masks to control which parts are visible.

Adding details and effects
Once you have the base image, you can add details, shading, and effects to enhance its appearance. This might include:
- Shading and lighting: Create depth and dimension by adding shadows, highlights, and gradients.
- Textures: Apply textures to give your sprite a more realistic or stylized look.
- Animation: If your sprite needs to move or change its appearance, create multiple frames and sequence them together.
- Special effects: Add effects like sparks, smoke, or energy fields to enhance the visual impact of your sprite.
Optimizing for performance
To ensure your sprites perform well in your game, it’s essential to optimize them for size and speed. Here are some tips:
- File format: Use a compressed file format like PNG or GIF to reduce file size without sacrificing quality.
- Texture atlases: Combine multiple sprites into a single texture atlas to minimize texture switching and improve rendering performance.
- Mipmapping: Generate mipmaps, which are smaller versions of your sprite at different resolutions, to improve image quality when viewed from a distance.
Testing and iterating
Once you’ve created your sprite, incorporate it into your game and test its performance. Look for any issues with rendering, animation, or interactions with other elements. If necessary, make adjustments to improve its quality and functionality.
Now you know how to create sprites for games! (And if you don’t, be sure to contact us for a little hand)
At the end of the day, creating sprites is nonetheless a fundamental skill for game developers, as they form the visual backbone of games. By understanding the basics of sprite design, utilizing the right tools, and optimizing for performance, you can craft engaging and visually appealing elements for your game.
Remember: The process of how to create sprites for games is iterative. Don’t be afraid to experiment and make changes until you’re satisfied with the final result.
New to game development? Don’t worry, we’ve got you covered. Main Leaf offers expert guidance and support to help you create amazing games. So, if you are ready to embark on your game development journey, make sure to contact us today, and let’s bring your vision to life!