Creating 3D models for games is often the most time-consuming task in the game development process, and there are many reasons for this: games often require thousands of 3D models between characters, environmental props, vegetation, and many other objects.
Indeed, not all 3D models are created equal – boxes and barrels are simple to make while detailed creatures and flora can take weeks depending on the scope of your game – but it’s still a lot of work no matter your software of choice (be it Blender, Maya, 3ds Max, or ZBrush).
For this reason, having a standard 3D modeling process is paramount to help you achieve great efficiency – which you will learn in detail as we go through each step along the way in this article. You will also understand how 3D modeling is approached differently depending on the gaming platform of your choice.
Let’s get started!
How to 3D model for games: creation pipeline
No matter your skill level as a 3D game artist, chances are you won’t deviate too much from the standard process, which goes like this:
1. Collecting references and drawing a 2D sketch
As 3D modeling often takes inspiration from the real world, the very first thing you need to do is collect references for your creation. Anything goes: screenshots, early concept art, a pose in different angles, colors, materials, textures, a text-based description, you name it. Their purpose is to give you deeper insights into the shape and structure of whatever you’re trying to create.
Even though drawing an orthogonal sketch is optional, it’s highly recommended to go through the process – especially for complex models with intricate details, like exotic vegetation and creatures that look real. By creating precise sketches from the top, front, and side views, you effectively have a blueprint in your hands, which you can use down the line to make fine adjustments to your model.

2. Creating a faithful, high-poly model
This is when you finally start modeling! Unless you’re purposefully creating an asset for a low-poly game, you will need to create a 3D model with as many details as you can add.
If you created a 2D blueprint in the previous step, you better put it to good use: having orthogonal projections of your envisioned model will help you keep proportions and sizes accurate down to a T. Daunting as the process is, break it down into bite-sized chunks and work on one thing at a time, starting with a fundamental piece of geometry before polishing it by adding details on top.
Keep in mind that, generally speaking, the creation of a high-poly model ends up being the most time-consuming one: even seasoned 3D modelers can spend weeks working on incredibly complex models.
3. OPTIONAL: sculpting your model for even more details
Let’s suppose you’re modeling some vegetation, a body part, environmental props (like rocks and textured walls), or anything made of organic shapes. In that case, sculpting is a great way of further enhancing those details. This process is also used when you have to add tiny, but important elements to your models, like skin imperfections, cracks, scratches, and surface roughness.
The leading software used for sculpting 3D models is ZBrush, but its price tag of $39.95 a month (or $179.95 for six months) is a deal-breaker for many beginner artists and smaller indie studios. If you want a free and open-source software (FOSS) solution, make sure to check Blender out – it takes on the job exceptionally well for a free application.
4. Reducing the polygon count of your model for better performance
In this step, you will use your high-poly model to create another one with a lower polygon count. Yes, you heard that right. It sounds crazy, but hear us out: you want your game to have excellent performance under all circumstances, and one of the best ways of achieving so is by reducing your polygon counts.
Even though we’ve seen a steady increase in both CPU and GPU performance over the years, we are not yet capable of rendering hundreds of millions of polygons per frame while ensuring smooth frame rates. Knowing that very complex and detailed models can be composed of millions of polygons, it’s paramount to keep that number down to a minimum – but without sacrificing quality along the way.
5. UV unwrapping: flattening your 3D model into a 2D image
Allow us to tell you one of the biggest secrets of the game development industry: every 3D model is actually just a bunch of 2D images wrapped around each other. Don’t believe us? We’ll explain.
Remember when you were in school cutting some weird paper shapes and then folding them in specific ways to get 3D shapes, like cubes, cones, octahedrons, and many more? You can think of UV unwrapping as the inverse process: it’s all about flattening your 3D model into a 2D image while manually adding the “seams”, the edges on which a 2D texture will wrap around itself.
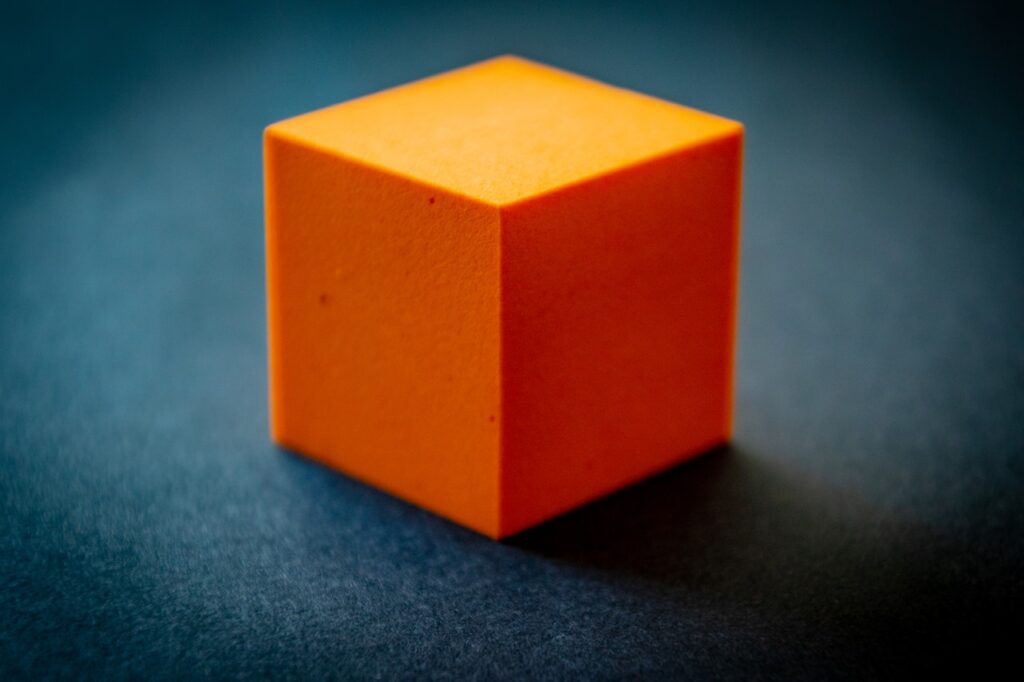
During the process, you will likely find some awkward seams – they are an unfortunate and inevitable byproduct of this step. However, that doesn’t mean you can’t work around them: by making them follow hard edges or hiding them behind other parts of your 3D model, you can make these seams less awkward.
In any case, as tedious as this process can get, keep in mind that everything down the line will require a proper UV map, highlighting the importance of getting it right. Make sure to put extra effort into leaving no stone unturned when creating your UV map!
6. OPTIONAL: baking to save performance
After doing the UV unwrap of your model, you might want to bake your creation. In computer graphics, baking is all about pre-calculating all the lights, shadows, and other relevant information into a 2D map, which can later be applied to a 3D model.
Rendering and calculating lights and shadows in real-time can get computationally expensive really fast. Games often have multiple 3D actors in the same scene that must be rendered 60 times per second to ensure proper and smooth gameplay, and this is where baking chimes in to save the day: it reduces computational load and allows developers to create highly-detailed environments without having to recalculate everything time and time again.
7. Texturing for that sweet sense of material
After everything is finished, all you have to do is add some textures to your model. They are images – or patterns, so to speak – that you can map onto a 3D model, which simulates its surface and adds extra details on top, like colors, depth, and a sense of materiality.
Luckily, finding textures for natural objects and common materials, such as stone and wood, is an easy task – and many 3D modeling software come bundled with dozens for you to choose from. For this reason, make sure to check them out before considering premium textures for your models.
And you’re done! Unless you need to create animations with your model, that is.
8. Rigging: adding virtual bones to make animation possible
As we said before, this step is only mandatory if you need to animate your model for some reason. Characters, monsters, and plants are notorious for having to be rigged, but anything goes – if you need to animate a 3D model, you must rig it.
But what does rigging entail? In short, it’s the process of adding digital bones to your model and connecting them. It’s like putting together a puppet or a marionette, but instead of controlling them with strings and other analog mechanisms, you add a virtual skeleton to the 3D object.

Still, there are many steps involved in rigging. The first one is to place the digital bones accordingly, which is the easiest part. Next, you have to link them to each other by defining parent-child relations between them. Finally, you might have to add constraints to limit the movements to realistic ones or add inverse kinematics (IK) for arms, legs, and tails, making it easier for animators to work on all those cinematics and in-game animations.
Once the ordeal is done, it’s possible to pose your model in whatever way you desire, and the model is (finally) game-ready.
3D modeling for various gaming platforms: how do they differ?
Even though the 3D modeling creation process follows the same steps, the result might differ depending on the gaming platform for which you’re modeling. Let’s take a look at the main differences between them:
Mobile and web
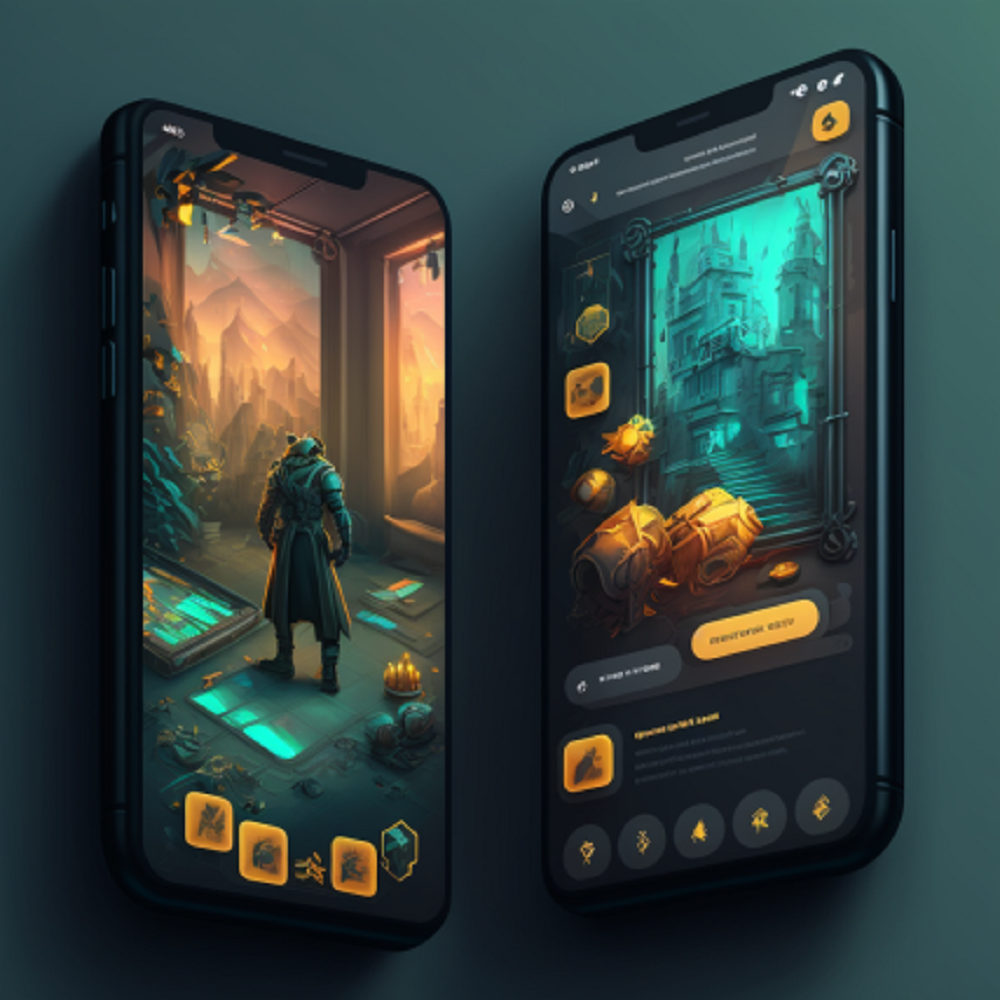
3D models for mobile gaming usually have fewer details than their desktop/console counterparts. There are two reasons for this: mobile phones have less processing power than computers, so all game assets must be as performant as possible, and they often have tiny screens compared to usual monitors, allowing players to see fewer details than they normally would.
The same principle can apply to web applications as they are often not available offline. By optimizing your 3D models, you make those games lighter to load and run, allowing players to get into the action as fast as possible.
Console, PCs, and VR applications
When it comes to these other platforms, however, game developers are given much more freedom. You can go for a low-poly aesthetic, and it can look absolutely mesmerizing while being extremely performant, or go for a high polygon count for detailed models. It’s good to err on the side of caution, but you are likely able to get away with higher-quality models than you otherwise would as consoles and desktops often run on powerful hardware.
As far as virtual reality (VR) applications go, players usually experience them in first-person, so even the tiniest detail in your models can stand out. For this reason, VR games often come bundled with incredibly detailed 3D models.
Mastering the Art of 3D Modeling for Games
Becoming a proficient 3D artist in the world of game development is an exciting journey that involves crafting detailed 3D models to bring virtual worlds and characters to life. The process, known as 3D modeling, is a cornerstone of modern video games. In this complete guide, we’ll walk you through the essential steps to make 3D models for games.
From character modeling to creating assets for various platforms like PC games and mobile games, we’ll explore common types of 3D modeling techniques, including high-poly and low-poly models. Whether you’re using Unreal Engine, Unity, or other game engines, understanding the principles of retopology, procedural modeling, and digital sculpting will help you master the art of 3D design.
By the end of this guide, you’ll have a solid foundation to start your journey as a game artist, equipped with the knowledge to create 3D characters, objects, and environments that will captivate players across different platforms.
Wrapping it up
As you have seen in this article, creating 3D models for games is no easy task – between reference collection and rigging, there is a lot to do – but it’s a critical one in the development of a 3D game, heavily affecting both its looks and its performance.
You also learned how 3D modeling can be approached differently depending on your game’s platform of choice, with mobile and web applications preferring lower polygon counts while PC, console, and VR games prefer higher counts.
In any case, if this seems like too much work for you, there’s always the option of hiring qualified professionals to take on the challenge, making you free to pursue other things while they pour their heart and soul into the task.
We are Main Leaf, a professional game development studio that has been creating games on demand since 2010. No matter what kind of game you have in mind – be it an NFT game or a 3D platformer – we will strive to bring it to life exactly the way you want. To accomplish this task, we have a roster of 70+ highly-skilled professionals, who will create your 3D game from scratch all the way to its release on the major gaming storefronts.
What are you waiting for? Let’s make this happen together: request a game quote right now to get started!
