When diving into game development, one of the most pivotal elements that shape the player’s experience is the User Interface (UI). So how to make a game UI in Unity that is intuitive, visually engaging, and functional?
The game UI serves as the bridge between players and the immersive world developers have painstakingly crafted. Whether it’s health bars, menus, or quest logs, a well-designed UI can enhance gameplay, while a poorly designed one can break it.
This guide delves into the step-by-step process on how to make a game UI in Unity, shedding light on the tools, techniques, and best practices. You will understand the basics of Unity’s UI system, know how to create a responsive UI, and gain valuable insights into fine-tuning the interface for various devices and screen sizes.
So let’s explore how Unity’s tools can transform your vision into reality.
Check out these 5 game design tips in 2025!
How to make a game UI in Unity: understanding Unity’s UI system
Understanding Unity’s UI system is the first step to making a game UI in Unity, so let’s start there.
Unity’s UI system uses the C# language and is based on a GameObject-Component model, with the Canvas acting as the core element. Every UI element is a child of the Canvas, and its rendering depends on the Canvas settings.

This hierarchy makes Unity’s UI system powerful and flexible for developers, whether they’re building mobile games, desktop titles, or console experiences.
For a guide on learning C#, click here.
The key components of Unity’s UI system are:
- Canvas: The backbone of the UI, determining how and where UI elements are drawn.
- Rect Transform: A layout component that defines the position, size, and alignment of UI elements.
- UI Components: Buttons, Text, Images, and other elements that make up the interface.
- Event System: Handles input from players, such as clicks or touches, ensuring interactivity.
Step 1: Setting Up the Canvas
The first step in how to make a game UI in Unity, is to create a Canvas. This is the stage where all UI elements will live.
- Creating a Canvas:
Navigate toGameObject > UI > Canvasin the Unity editor. A new Canvas GameObject is created in the hierarchy, along with an EventSystem (if one doesn’t already exist).
By default, the Canvas is configured forScreen Space - Overlay, meaning it adjusts automatically to fit the screen. - Adjusting Canvas Settings:
You can change the Render Mode depending on the game’s requirements:- Screen Space – Overlay: UI elements are overlaid on the screen.
- Screen Space – Camera: UI aligns with a camera’s perspective.
- World Space: UI exists in 3D space and interacts with game objects.
Step 2: Designing Layouts with Rect Transform
Once the Canvas is set up, the Rect Transform component allows developers to design the layout of UI elements. This component replaces the standard Transform and offers specialized tools for positioning and resizing.
Knowing how to use this tool is often the most important part in how to make a game UI in Unity, so take your time to explore it.
- Anchors and Pivot Points:
The Rect Transform’s anchor system ensures UI elements adapt to different screen sizes. For example:- Anchoring a health bar to the top-left corner ensures it stays in place regardless of resolution changes.
- Pivot points control the rotation and scaling of elements relative to their center or edges.
- Alignment Tools:
Unity’s built-in alignment tools help create a consistent layout. Use the “Anchor Presets” menu to quickly set up common alignments like center, stretch, or edge placements.
Step 3: Adding Core UI Elements
Unity’s UI system comes with a variety of built-in components that make designing game interfaces straightforward.
Text
Text is a cornerstone of most UIs, providing crucial information to players. To add text:
- Create a Text object under the Canvas.
- Customize its font, size, color, and alignment in the Inspector panel.
- Use Unity’s TextMeshPro for better control over typography, supporting dynamic styles and rich text formatting.
Buttons
Buttons are interactive elements that trigger actions:
- Add a Button object under the Canvas.
- Customize its appearance with an Image component.
- Assign functionality via the OnClick() event in the Inspector.
Images
Images are versatile for creating backgrounds, icons, and decorative elements:
- Import a sprite or texture into Unity.
- Assign it to an Image component, adjusting its scaling and fill type.
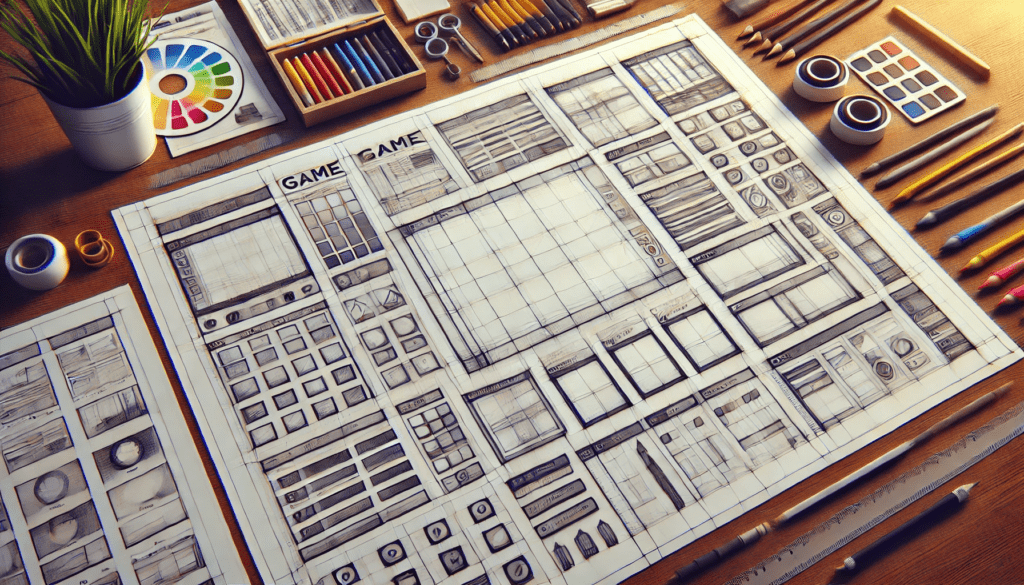
Step 4: Implementing Responsive Design
Responsive design ensures your game UI looks great across various devices and screen resolutions. Unity offers tools to handle this seamlessly.
- Canvas Scaler:
The Canvas Scaler adjusts UI elements dynamically. Set theUI Scale Modeto:- Constant Pixel Size for fixed-size elements.
- Scale with Screen Size to adapt to resolution changes.
- Aspect Ratio Handling:
Use Unity’s Aspect Ratio Fitter to ensure elements like mini-maps or sidebars maintain consistent proportions. - Testing Resolutions:
Test your game UI using the Game view’s resolution dropdown. Unity provides multiple preset resolutions, or you can add custom ones to match target devices.
Step 5: Adding Interactivity with Scripts
Interactivity brings a game UI to life. Unity uses C# scripts to handle events and dynamic changes.
- Responding to Player Input:
Attach event listeners to Buttons or sliders. For example:
public void StartGame() {
    Debug.Log("Game Started!");
}
This function can be assigned to a Button’s OnClick() event.
- Dynamic UI Updates:
Use scripts to update the UI in real-time. For example, a health bar can decrease dynamically:
public Slider healthBar;

void UpdateHealth(float health) {
    healthBar.value = health;
}
Read also: Becoming a Unity programmer: essential skills to get started
Step 6: Polishing the Design
Once the functional aspects of your UI are in place, focus on aesthetics and user experience.
- Visual Consistency:
Maintain a cohesive visual style using consistent colors, fonts, and spacing. Unity’s Prefab system allows developers to reuse styled elements across multiple scenes. - Animation and Effects:
Add subtle animations using Unity’s Animation system or the Animator Controller. For instance, buttons can scale slightly on hover or click. - Sound Effects:
Pair UI interactions with sound for an immersive touch, such as a click sound when pressing a button.
Step 7: Optimizing Performance
Performance is critical, especially for mobile games. Optimizing your game UI ensures smooth gameplay.
- Batch Rendering: Combine UI elements to minimize draw calls.
- Texture Atlases: Use sprite sheets to reduce memory usage.
- Profiling Tools: Use Unity’s Profiler to identify bottlenecks in your UI design.
Why a polished game UI matters
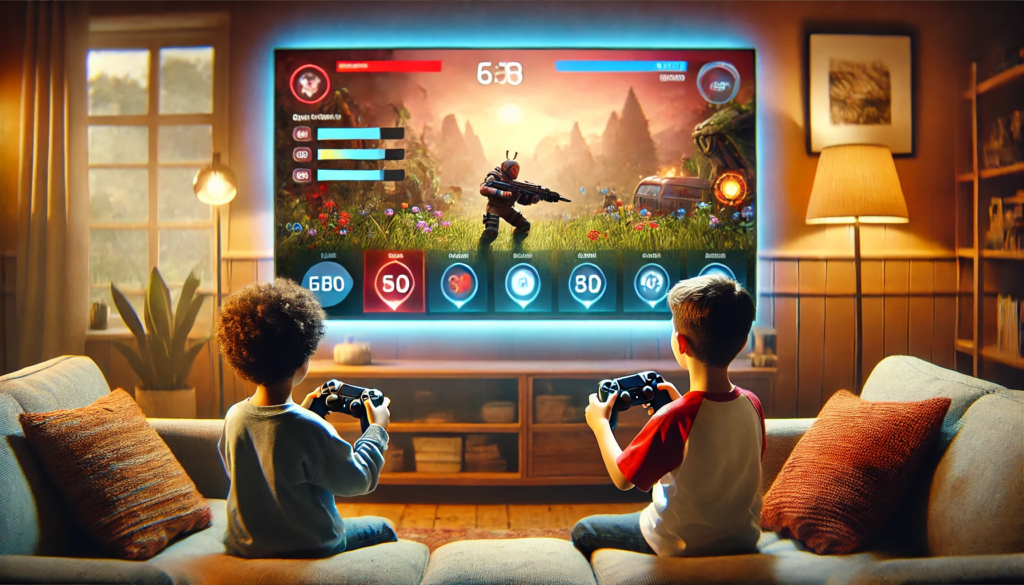
The truth? A game’s UI does more than guide players; it sets the tone for the entire experience. By using Unity’s robust tools and following best practices, you as a developer can create interfaces that function seamlessly and elevate games to a professional level.
Designing a game UI in Unity can be a complex process, though, requiring a mix of creativity, technical knowledge, and meticulous attention to detail. So if you’re looking to create a UI that stands out, we here at Main Leaf have a team of experienced developers that can help you bring your vision to life!
From initial concept to final implementation, we specialize in crafting game UIs that resonate with players. So let’s create something extraordinary—together. Reach out today and start your journey to developing a game UI that truly shines.
